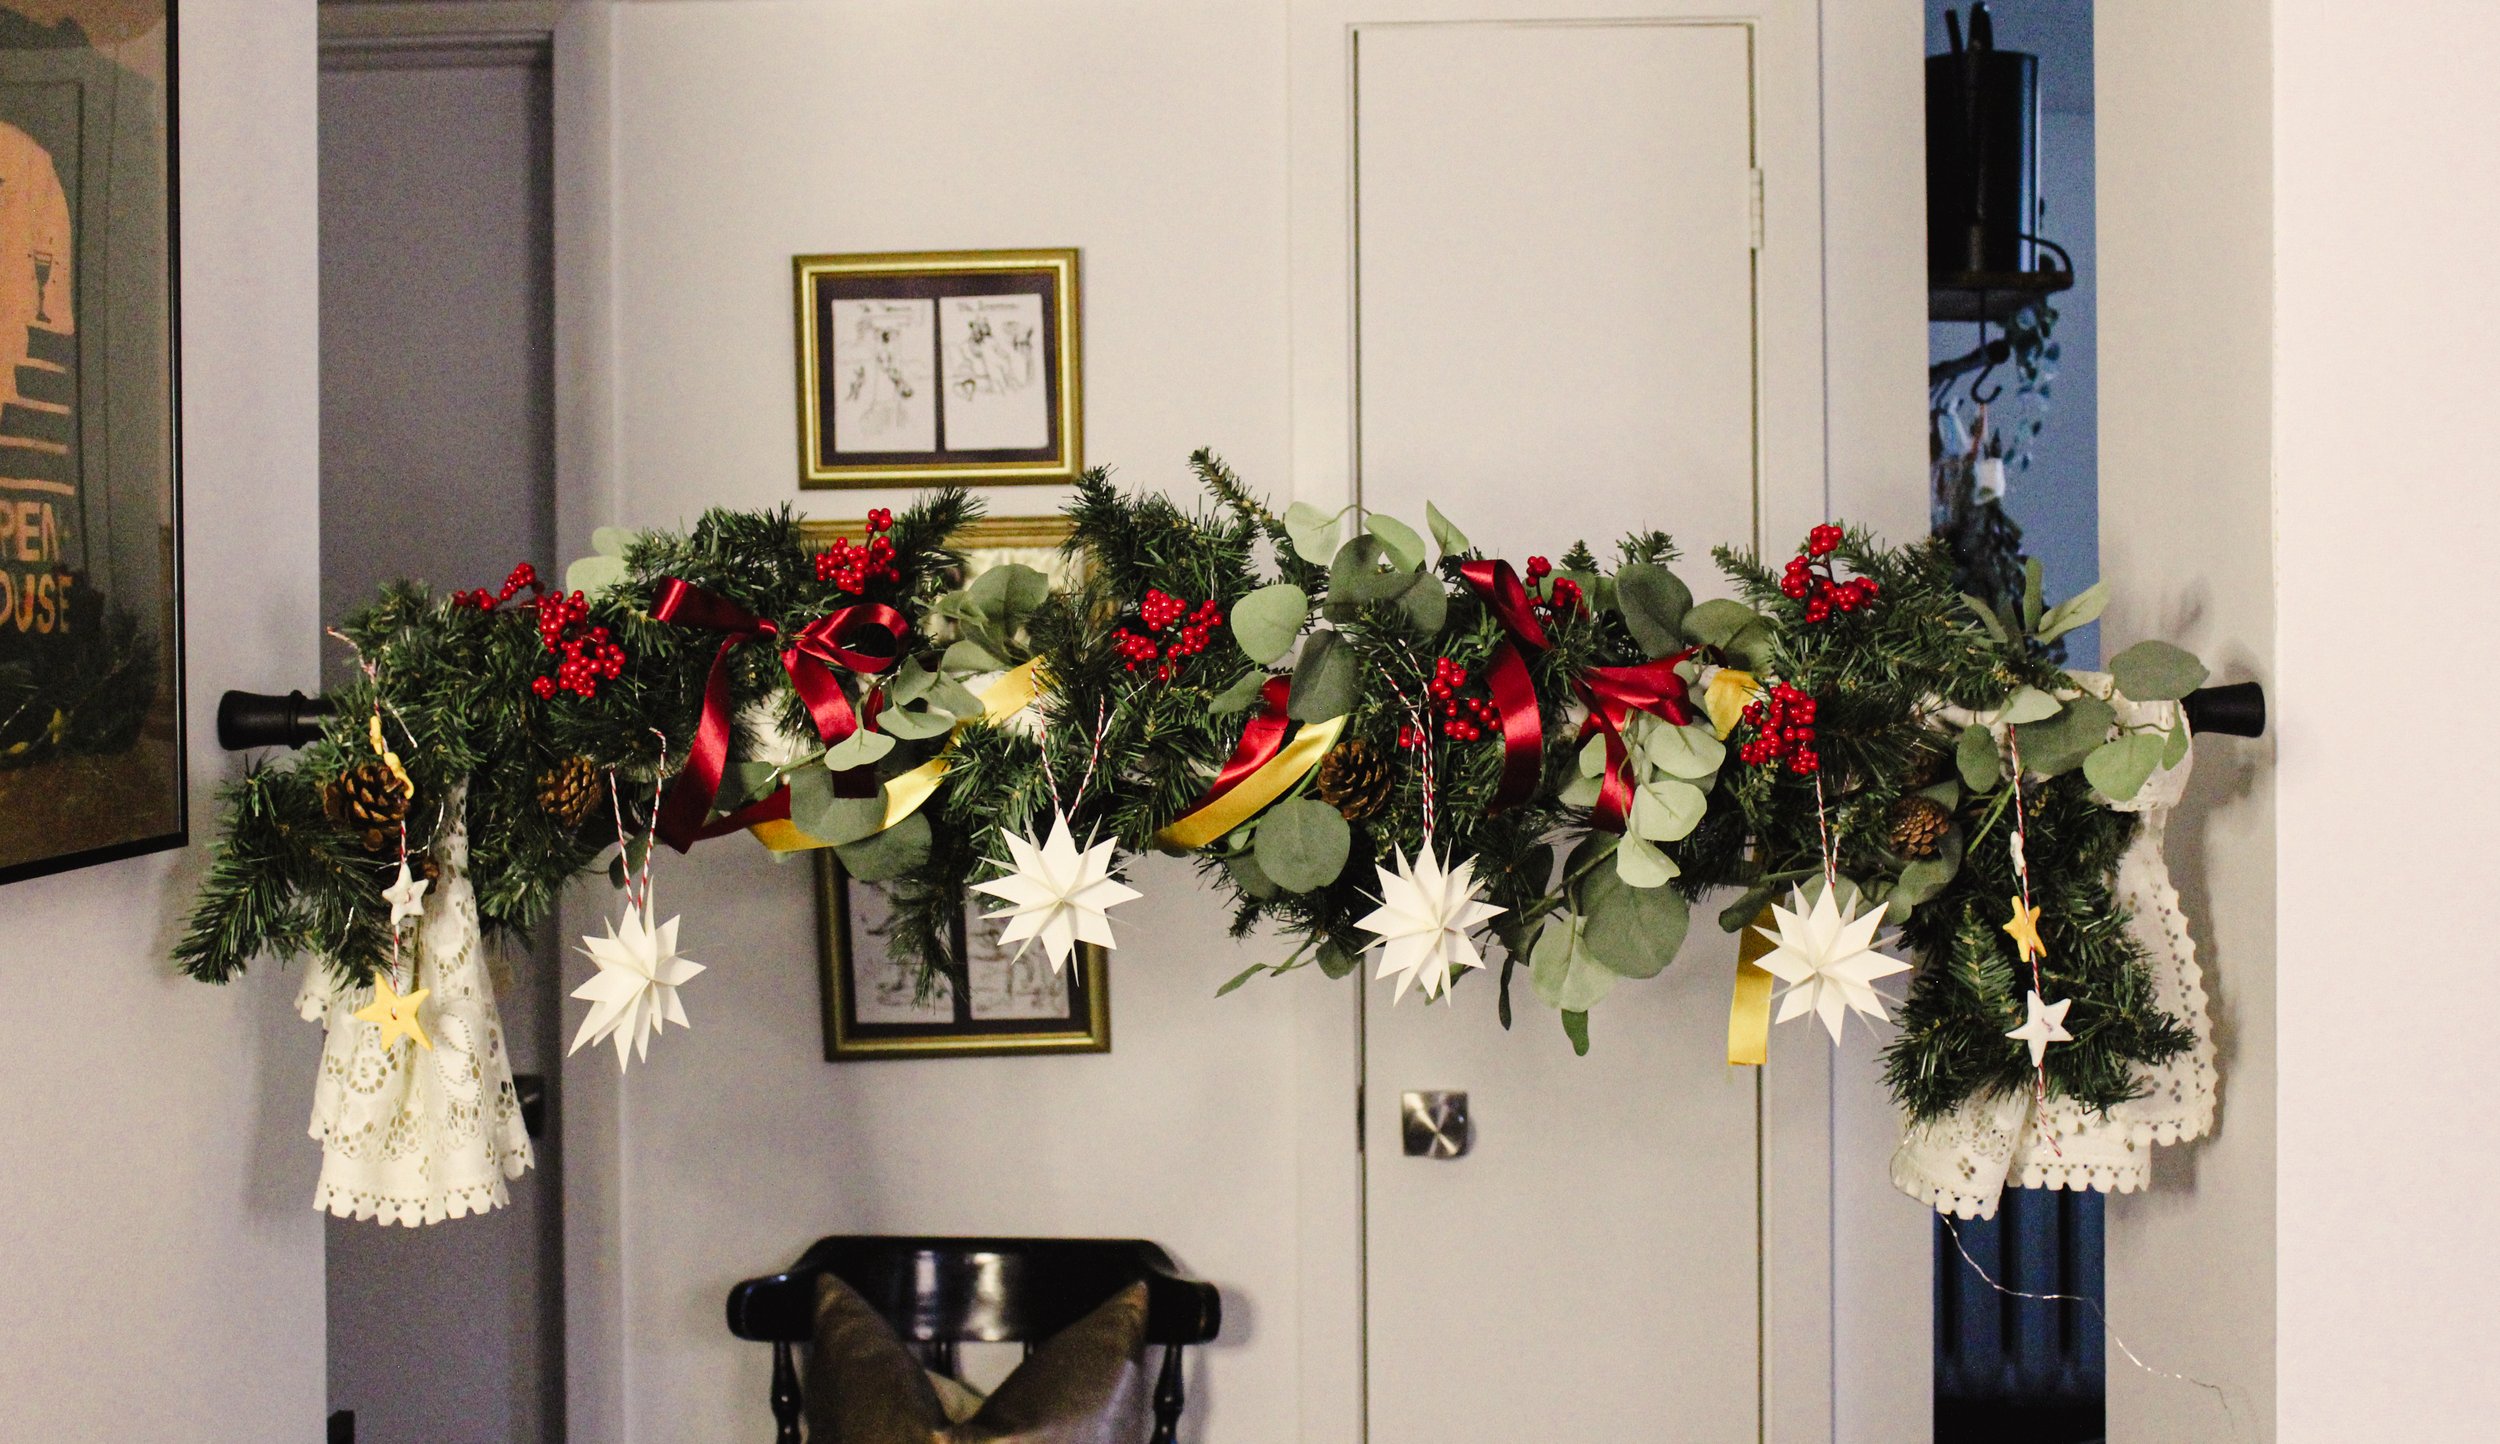
The Famous Garland Hack and How to Make Your Own Dec 18 Written By Nicole Campbell If you’ve spent any time on Instagram or TikTok you may be familiar with the Garland Tension Rod Hack, and if you’re not, welcome to your new favourite ways to hang garlands in your home! By simply using a tension rod in a hallway or doorway you have the ability to build a garland around it creating a beautiful holiday moment in your home. Today I want to share my step-by-step guide to make sure your garlands look picture-perfect all season long! Step 1: Mind Your Head Knowing this is a tension rod that will be floating above your head you want to pick a location that isn’t too low but also not too high that you can’t get your tension rod where you want it to go at the end. I suggest choosing a doorway or archway that you can almost reach the height of so you can build the garland at chest height, then using the de-tension feature, move it to the right height safely on a ladder once your garland is complete. Please make sure you do this with a spotter so you’re staying safe! Step 2: Remember Light Layers With a garland floating above your head, deciding what decor to put on is key. To ensure that I’m doing this safely I chose the lightest options possible. Think simple garlands, light lace fabrics and paper ornaments. For my base, I went with a white tablecloth cinched so it would hang on either end of the garland after building. Whatever you can add that will be light on the rod but make a big impact! Step 3: Garland FirstFor my first layer after my tablecloth base, I went with a classic fake pine garland. I suggest when adding these start at the center and wrap outward so you have a little more control over the exact placement. I then added a second thinner garland of fake eucalyptus to give it more texture and levity. You can reinforce your garland with zip ties or any other material to make sure it stays put. Step 4: Sprigs and Fun To ensure that the green of the garland was broken up I then added sprigs of fake cranberries and ribbon, making the garland feel festive and aligned with the colour pallet around the room. I also included a few tied bows which again add a little fun without adding weight to the rod. Step 5: Time to Accessorize Of course, we can’t forget the most fun part, adding the finishing touches to make sure this garland really shines. I added some homemade clay garland enders to each side to unify the fabric and garland together and some homemade paper ornaments to hang through the center. Bonus points if you add some fairy lights to make the garland feel magical! Wishing you the happiest of holidays and a fabulous new year! Want more interior inspiration? Check out our Interiors section and our Instagram to stay in the know. Nicole Campbell