
How To Build A Gallery Wall You Love

Oh, the gallery wall! If you have been on the internet in the last five years, you’re sure to have seen the one and only gallery wall trend. This accent wall of sorts has taken many forms from leaning shelves to perfectly gridded-out templates, to an absolute haphazard of frames taking up every square inch of drywall. Though each accent wall varies in style, seven key elements bring these room highlights to life. Historically, gallery walls originated in France in the late 17th century and were referred to as ‘Salon Walls’, used to highlight many different artworks at once and were viewed as unique places of enlightenment. Though the trend itself isn’t new, the way we make gallery walls now is a little more refined and a lot more intentional, replacing quantity with quality. This spring I (Nicole) worked with Stephanie to create the perfect gallery wall for her downtown condo. So today I’m sharing how I created this highlight for her living room and the important questions you want to ask yourself in creating yours.

Before you dive in it’s important to ask yourself what kind of gallery wall you want for your space!
Ultimately, gallery walls boil down to three main options:
The wall collage: This option is quite common and a simple combination of multiple frames/art pieces to create a cloud-like shape on your wall.
The wall collage (but organized): This is similar to the above but instead of it resulting in a cloud shape it is structured into a square or rectangle.
The leaning shelf: I include this in the gallery wall family because you are still displaying a multitude of styled frames and art.
Once you’ve answered this question you’ll be able to get started.

Step 1. Where to place it?
The usual response to this is “the biggest wall!” but remember that this is dependent on the kind of space you’re working with. Sometimes it’s better to reserve a small gallery wall to a small wall or a corner for an interesting accent. However, for Steph’s place, we found above the couch was the perfect home. Keeping in mind where it lives will also help you decide how big you want to make it so it’s in proportion with other homeware pieces around it. So for Steph’s wall, having the highlight about 2/3rds of the length of the couch made the most sense.

Step 2. What’s your colour pallet?
Deciding on a colour pallet can sometimes feel daunting, but again, simply looking around the room will give you a pretty quick idea of what colours would make the space better, vs take away from it. I’m all for fun colour pops but make sure it doesn’t steal your attention when you walk in the room. Pick out three colours in the room you like and start from there! Stephanie has an affinity for blush pink, teal, and gold, many of which are represented in the pillows on her couch, so we started there.

Step 3. How many pieces do you want? And How big?
This is of course subjective to your space but I like to define a gallery wall as anything with more than 4 pieces of art/frames. I like working with layers, especially with a leaning shelf gallery wall, and because we’re working with a larger wall above the couch, we opted for a total of 9. Note that the number is high because many of the frames were small. Rule of thumb: the larger the frames the less you need!

Step 4. What to fill it with?
I will argue to the end of time that this is the most challenging part of any gallery wall construction and I will admit it does take some finesse. The best place to start is with your colour pallet. Look through old artwork, pictures, magazine clippings and anything else you have in your home that has some of these colours in it. From there you can decide if there’s anything you would like to display. If you have some things but not enough to fill your space, heading to Etsy is a great place to start as you can search by colour and artist, and also get to support a small business! Some of Stephanie’s prints were created by yours, if you’d like to learn more, connect with us on our Work With Us page. A pro tip if you want to include photos, is to go black and white. By doing so you neutralise the colours to match everything else, but still get to enjoy the beautiful memories.

Step 5. What frames do you choose?
Now that you’ve got your colour pallet and your pieces, you can choose some frames! Deciding on frames can feel daunting because there are endless options, but ultimately going with more neutral options tends to create better results. If you like things clean and simple, going with all white or all black frames can be great. I like adding gold and wood to make it feel a little warmer and textured. You can also go dramatic with thick detailed frames, just make sure it’s only on one or two pieces so it doesn’t take away from the rest of your work. For Stephanie, I chose a combination of white, wood and gold. Note that some of these frames have been painted to match, remember you can always use an old frame and give it new life with a quick coat of paint!

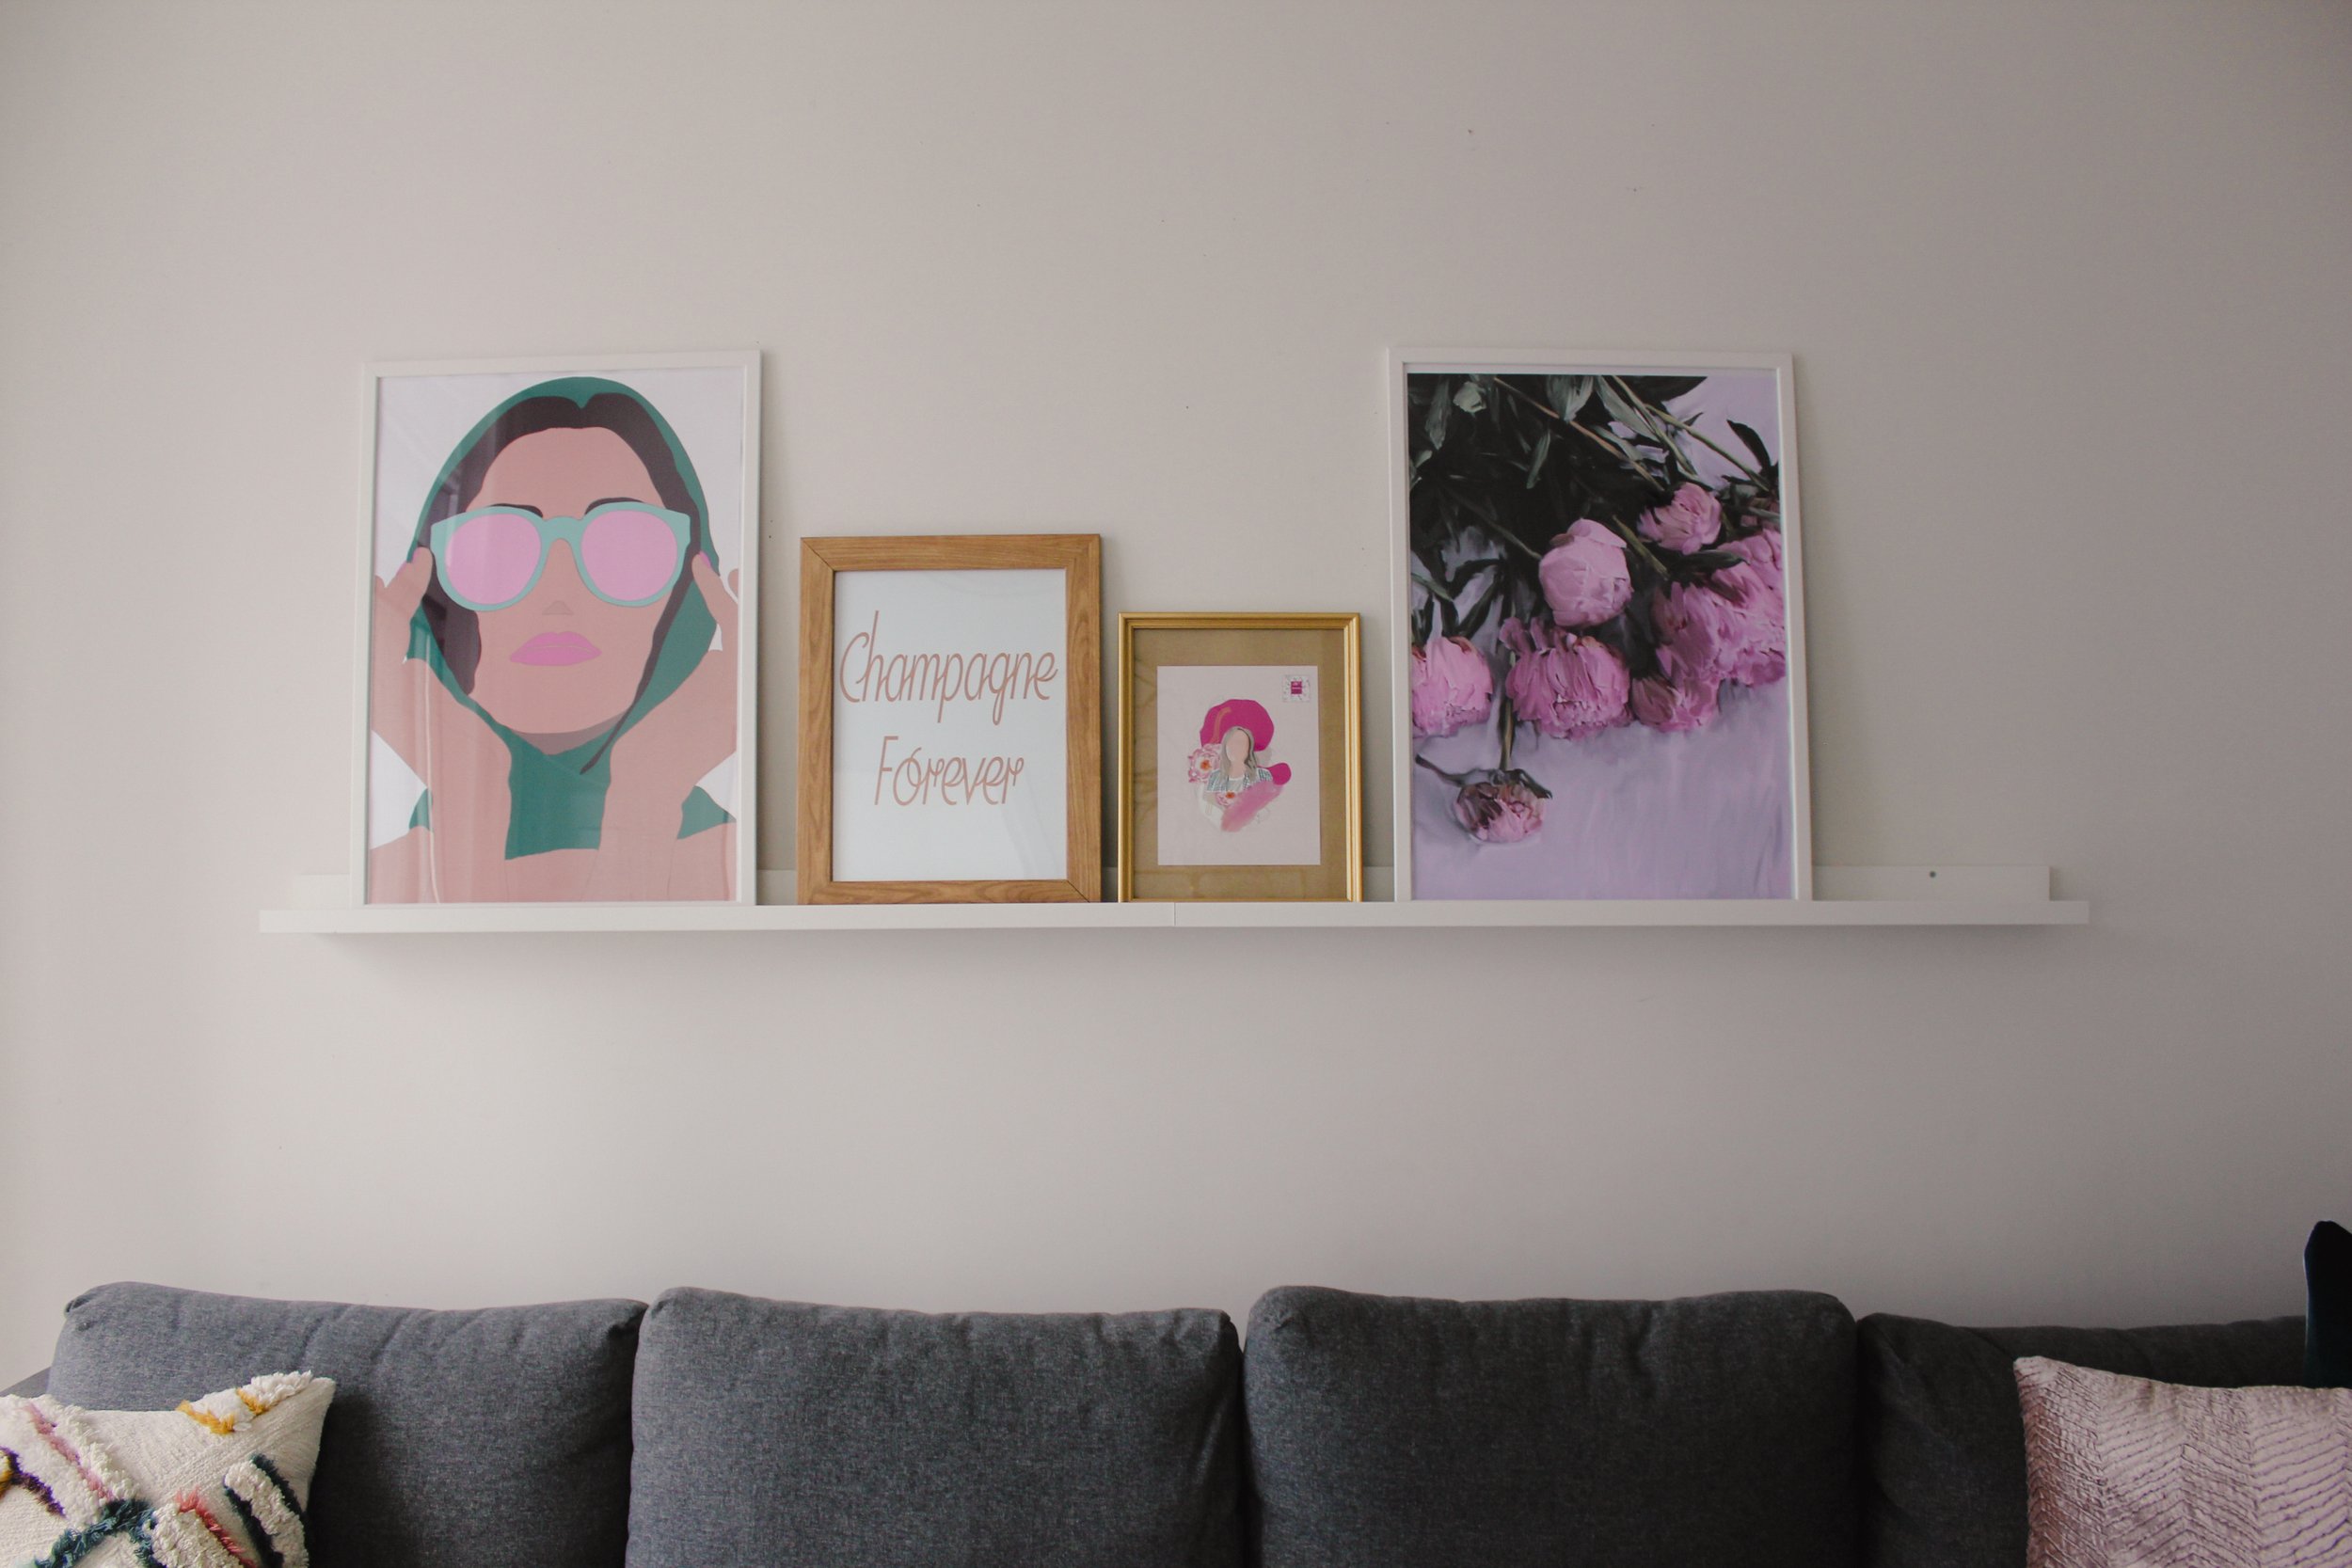

Step 6. How to arrange it?
Arranging a gallery wall, especially on a shelf, is all about balance. You want your eye to rest when you look at the pieces, instead of having your eye drawn in a certain direction. You can achieve this by playing with the concept of high-low, pairing larger pieces with smaller ones so your eye evens things out. Put your larger pieces on either end, your medium pieces in the center, and you small pieces between frames to fill gaps. By doing so you feel like there’s no strange negative space but you’re not losing the small pieces to the large ones.

Step 7. Know that you can change it!
Oftentimes in design, we feel like we have to be married to our ideas forever, but like the changing of seasons, at some point, you may want to make your wall a little different or replace prints, and that’s ok! Follow your heart!
Congratulations, you just made a beautiful gallery wall and a highlight to your home, step back and admire your work!
Want more interior inspiration? Check out our Interiors section and our Instagram to stay in the know.